Small kitchens rarely fail at organization because they are small. They fail because of a handful of avoidable mistakes: too much stuff, wasted vertical space, and storage that ignores how the cook in practice moves. Fix those three things and a tiny kitchen can feel twice its size and work better than a large one that is poorly arranged. The goal is not to cram more in; it is to make everything you keep easy to reach and easy to put back.
Start from a simple principle: a small kitchen has no room for items you do not use. Organization begins with editing, not with buying more containers.
Edit before you organize
Before any bins or racks, take everything out and be honest about what earns its place. The single appliance you used once, the duplicate utensils, the chipped mugs, the gadgets that promised to change your life: in a small kitchen these are not harmless clutter, they are stealing space you need. This is the same edit-first logic behind decluttering a home room by room, and the kitchen is where it pays off fastest. Keep what you use weekly within easy reach and store the rest elsewhere.
Use the vertical space you are ignoring
Most small kitchens waste the space above eye level and below the counters. Reclaiming it is the biggest single win.
- Add a shelf or two in the dead space above existing cabinets for rarely used items.
- Hang pots, pans, mugs, and utensils on rails or hooks to free up drawers and cabinets.
- Mount a magnetic strip for knives, which clears a drawer and protects the blades, a point we cover in our guide to essential kitchen knives.
- Use the inside of cabinet doors for spice racks, measuring tools, and pot lids.
- Add tension rods or stacking shelves inside cabinets to double the usable height.
Organize around how you cook
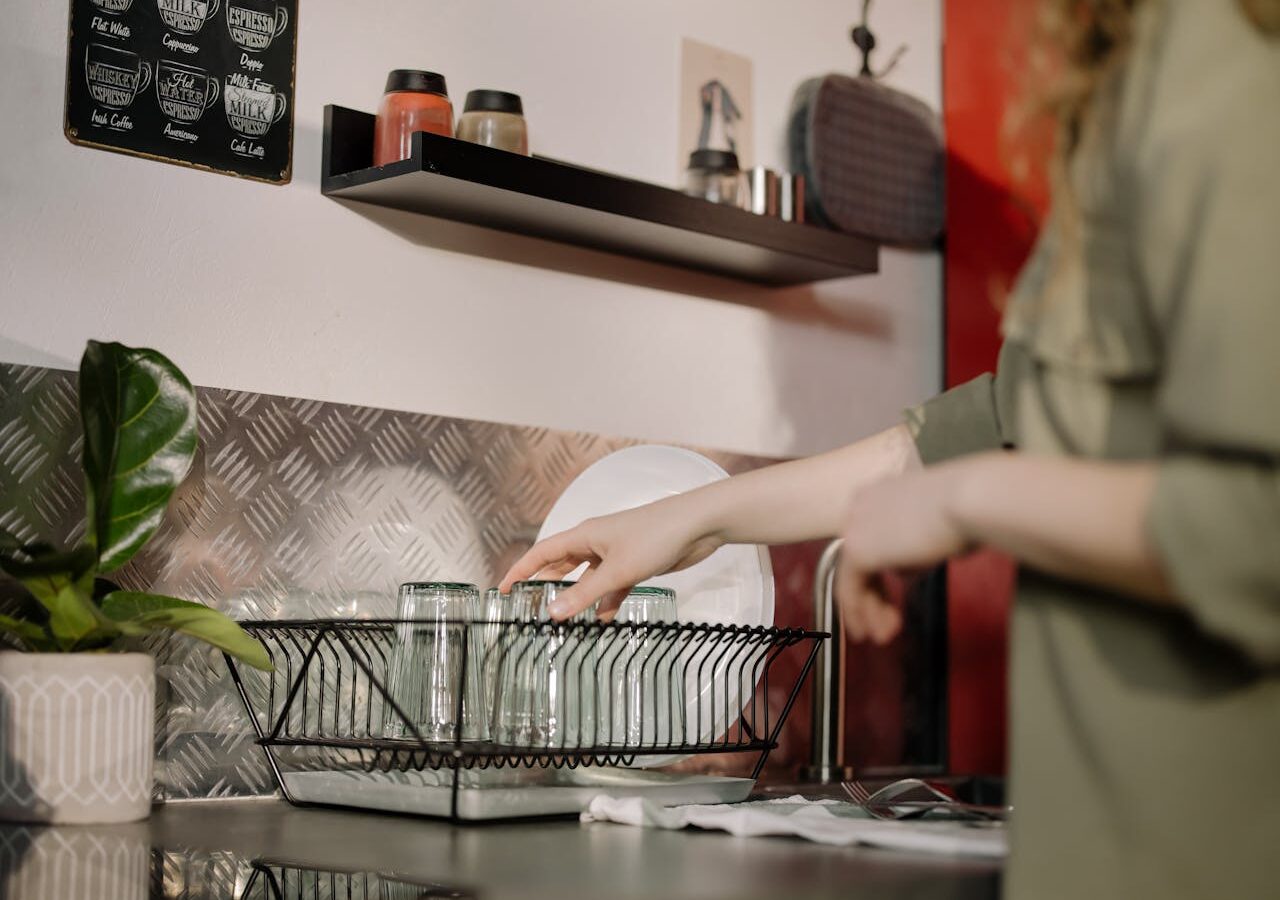
Storage should follow the work, not the other way around. Keep items where you first use them: pots near the stove, knives and boards near the prep area, plates near where you serve or the dishwasher. Group items by task into zones, so making coffee or packing lunches each happens in one spot rather than crisscrossing the kitchen. A well-zoned small kitchen feels effortless because nothing requires a detour.
Make drawers and cabinets work harder
Inside the cabinets, a few inexpensive tools transform capacity.
- Drawer dividers so utensils stop becoming a tangled pile.
- Pull-out baskets or bins to reach the back of deep cabinets without unloading the front.
- Shelf risers to stack plates and bowls without burying the bottom ones.
- Clear, stackable containers for dry goods, which save space and show what you have.
- A turntable in a corner cabinet so nothing gets lost at the back.
Keep counters clear
In a small kitchen, counter space is workspace, and every appliance left out steals it. Store everything you do not use daily, and be selective about which appliances earn a permanent home on the counter. The coffee maker you use every morning earns its spot; the others should go in a cabinet. The same discipline applies when choosing what to buy in the first place, whether that is a coffee maker or a larger appliance: footprint is a feature in a small kitchen.
Weekend wins that cost almost nothing
Not every improvement needs a shopping trip. A few changes you can make in an afternoon free up surprising space:
- Decant pantry staples into uniform jars and reclaim the wasted height of half-empty boxes and bags.
- Move rarely used appliances and serving pieces out of the kitchen entirely, to a closet or higher shelf.
- Add hooks to the side of a cabinet or the wall for mugs, towels, and frequently grabbed tools.
- Group the contents of one chaotic drawer into a few cheap dividers, starting with the one you open most.
- Clear the counter completely, then return only the items you genuinely use every day.
Small, fast changes like these build momentum and often reveal that the kitchen had more room than it seemed.
The most overlooked move in small-kitchen organization is the simplest: own less. It is tempting to solve a cramped kitchen by buying clever storage products, but every system works better with fewer things in it. Do a ruthless edit first, then organize what remains around how you cook. You will usually find you needed half the storage gadgets you were about to buy. Organization is a habit more than a product. The bins and racks help, but only if you keep editing as you go, returning things to their zones, and resisting the slow creep of single-use gadgets. A small kitchen stays workable when putting things away is as easy as taking them out.
Small kitchen questions with practical answers
How do I add storage to a small kitchen without remodeling?
Go vertical and use hidden surfaces: shelves above cabinets, hooks and rails for pots and utensils, the inside of cabinet doors, and dividers or risers inside existing cabinets. None require construction.
What is the first thing to do when organizing a small kitchen?
Empty it and edit. Remove duplicates, broken items, and anything unused, then organize only what is left around the way you cook. Editing first prevents you from storing clutter neatly.
How do I keep counters clear in a tiny kitchen?
Store every appliance you do not use daily, give the daily ones a defined home, and treat counter space as workspace rather than storage. Wall-mounted rails and magnetic strips move items off the counter.
How do I organize a small pantry or food cabinet?
Treat it like the rest of the kitchen: edit first, then use the vertical space. Toss expired items, group similar foods together, and decant staples into uniform clear containers so you can see what you have and stop buying duplicates. Add a shelf riser or a tension shelf to split a tall, half-used shelf into two, and put a small turntable in the back corner so nothing gets lost. Keep everyday items at eye level and reserve the highest and lowest shelves for things you reach for rarely.
Storage fixes that create new clutter
- Buying organizers before editing, so you end up neatly storing things you do not need.
- Leaving the space above cabinets and inside cabinet doors completely unused.
- Storing items far from where you in practice use them.
- Letting appliances colonize the counter and shrink your workspace.
- Choosing opaque, mismatched containers that hide what you own and waste shelf height.
A small kitchen works when storage follows use
A small kitchen works when you keep less, use the vertical and hidden space, organize around how you cook, and protect the counters as workspace. Edit first, then add a few targeted organizers rather than a cupboard full of them, and the room will feel calmer, larger, and far easier to cook in.