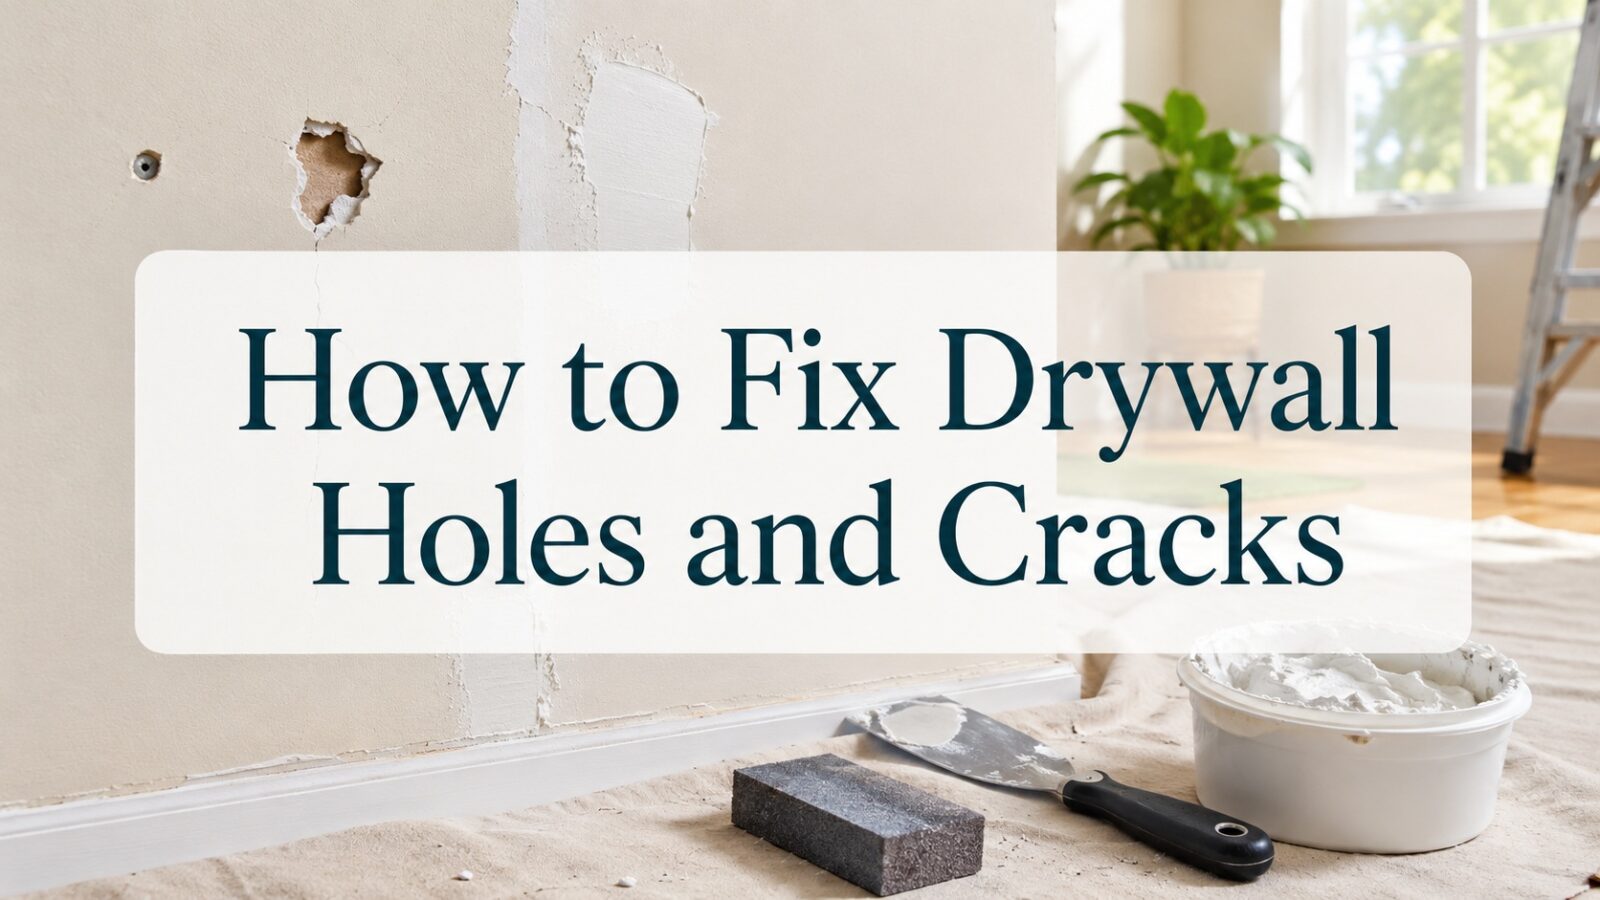
Drywall damage looks far more intimidating than it is. A hole punched by a door handle, a crack creeping from a corner, or the little craters left when you remove wall anchors all seem like jobs for a professional, but every one is a straightforward DIY repair with a few cheap tools. The skill is not in the patching, which is easy; it is in the finishing, getting the repair flat and smooth enough that it disappears under paint. Match the method to the size of the damage and even a beginner can make a wall look untouched.
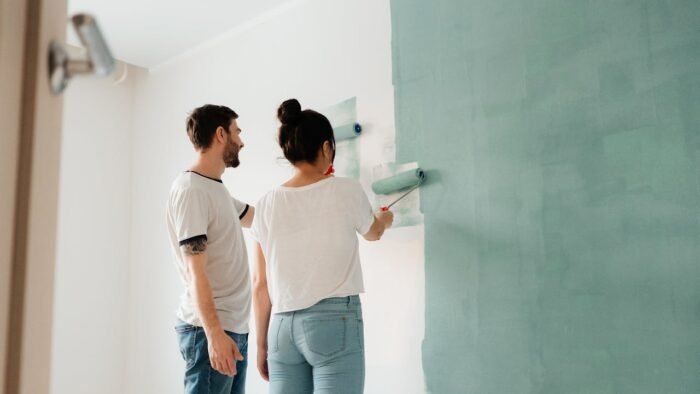
This is the natural companion to wall painting, since a flawless paint job starts with a flawless surface. Repair first, then paint.
Tools and materials
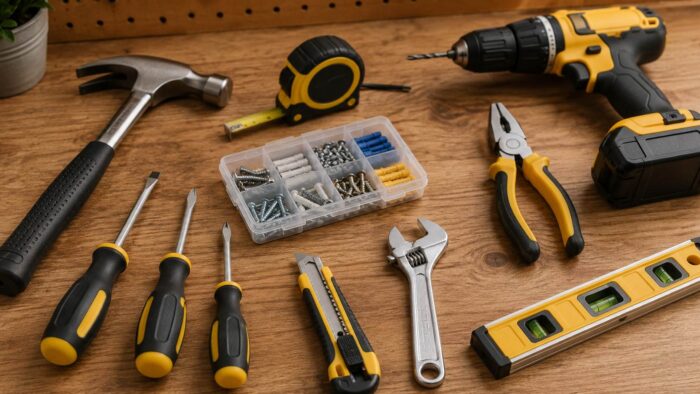
- A putty knife, ideally a couple of widths, and a wider taping knife for larger patches.
- Lightweight spackle or joint compound for filling.
- Self-adhesive mesh patches or a drywall patch kit for medium holes.
- Fine sandpaper or a sanding sponge, plus a damp cloth.
- For large holes, a scrap of drywall, a utility knife, and drywall tape.
- Primer, so the repair does not flash through the topcoat.
Match the fix to the damage
Tiny holes from nails and anchors
The easiest repair of all. Fill with a dab of lightweight spackle, smooth it flush with a putty knife, let it dry, sand lightly, and prime. Two minutes of work and the hole is gone.
Cracks
Hairline cracks often return if you simply fill them, so widen the crack very slightly with the corner of a scraper first, then fill. For cracks that keep coming back, apply a strip of mesh tape over the filled crack and cover it with a thin layer of compound to bridge the movement.
Medium holes
For holes up to a few inches, a self-adhesive mesh patch is the simplest solution. Stick it over the hole, then spread compound over it in thin layers, feathering the edges out wider each time so the repair blends into the wall.
Large holes
For bigger damage, cut a neat square around the hole, fit a drywall patch backed by a support strip, tape the seams, and build up thin coats of compound. It is more work but still firmly in DIY territory.
Finishing is everything
The difference between an invisible repair and an obvious patch is all in the finishing, and the golden rule is thin coats and feathered edges. Apply compound in several thin layers rather than one thick blob, letting each dry and sanding lightly between coats. Each coat should spread wider than the last, feathering the edge into the surrounding wall so there is no ridge to catch the light. Sand the final coat smooth, then run your hand over it; if you can feel the repair, the paint will show it, so keep feathering and sanding until it vanishes.
Prime before you paint
Fresh compound is more porous than the surrounding wall, so painting straight over it leaves a dull, flashed patch that shows through even after the room is repainted. Spot-prime every repair before painting, and the patch will disappear completely under the topcoat. This is the same prep discipline that separates good paint jobs from mediocre ones, and it is worth the extra few minutes every time.
Matching texture and re-hanging art
Two finishing touches make a repair truly invisible. First, match the wall’s texture: if the surrounding wall has a light orange-peel or knockdown texture, a smooth patch will stand out, so use a texture spray or dab compound with a sponge to blend it before priming. Second, once the wall is repaired and painted, re-hang art thoughtfully rather than back into the old holes; this is a good moment to plan a proper gallery wall or art arrangement and use the right anchors so you are not patching the same spots again next year.
Repairs that need more than filler
- Filling a hole with one thick layer instead of building thin, feathered coats.
- Skipping the feathered edges, leaving a visible ridge or bump around the repair.
- Not widening or taping a recurring crack, so it reappears within weeks.
- Painting over bare compound without priming, causing a flashed, dull patch.
- Sanding too aggressively and gouging the surrounding wall.
Drywall repair questions before sanding
What is the easiest way to fix a small hole in drywall?
Fill it with lightweight spackle using a putty knife, smooth it flush, let it dry, sand lightly, and spot-prime. Nail and anchor holes take only a minute or two this way.
Why does my drywall crack keep coming back?
Because filler alone cannot bridge slight movement. Widen the crack a little, fill it, then cover it with mesh tape and a thin layer of compound so the tape spans the movement and stops the crack reopening.
Do I need to prime a drywall repair before painting?
Yes. Bare compound is more porous than the wall and will flash dull through the paint. A quick spot-prime makes the repair blend in completely under the topcoat.
How long should I wait for drywall compound to dry?
Most lightweight compounds are touch-dry within a couple of hours, but it is better to leave each coat for the time on the tub, often longer in cool or humid rooms, before sanding or recoating. Compound that looks dry on the surface can still be damp underneath, and sanding or painting it too soon leads to a lumpy, cracking repair. The compound usually lightens in color as it fully cures, which is a handy visual cue. Patience here costs nothing and is the single biggest factor in whether the finished patch disappears.
The crack is a clue, not just a blemish
Patience between coats is what separates a professional-looking repair from an obvious one. Beginners rush, piling on thick compound and sanding while it is still soft, then wonder why the patch is lumpy and visible. Thin coats, full drying time, light sanding, and generous feathering take a little longer but make the repair genuinely disappear. Do that and prime it, and no one, including you, will be able to find where the damage was. And keep a little of the leftover compound and paint labeled in a cupboard, because walls inevitably pick up new dings, and having the exact materials on hand turns the next repair into a five-minute job rather than another trip to the store.
Repair the cause before hiding the mark
Drywall repair is one of the most approachable home fixes once you match the method to the damage: spackle for small holes, mesh tape for cracks and medium holes, and a backed patch for large ones. The real skill is in finishing, thin feathered coats sanded smooth and then primed. Get that right and the wall looks untouched, ready for a clean coat of paint.