A freshly painted room costs very little in materials and changes a space more than hundreds of dollars of new decor. It is the highest-return project in home improvement, and it is well within reach of a complete beginner. Yet most people end up with patchy, streaky, or peeling results, and almost always for the same reason: they skip the preparation and rush to the fun part. Painting is roughly 70 percent prep and 30 percent rolling, and the people who get professional-looking walls are simply the ones who respect that ratio.
The work that determines the final result happens before you open the paint can. Get the prep right and the painting itself is genuinely easy.
The tools you in practice need
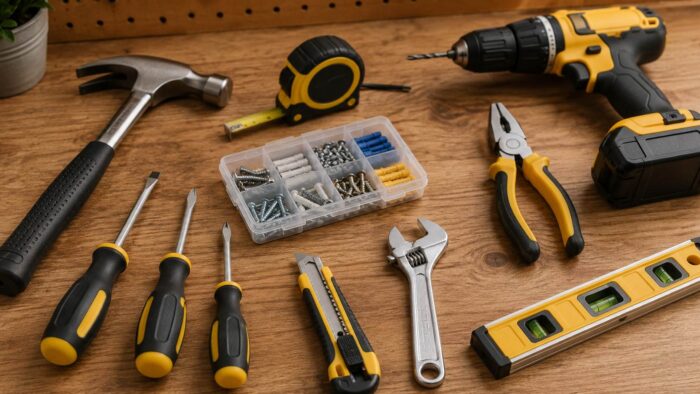
You do not need a vanload of gear, but the few tools that matter make a real difference.
- A quality angled brush for cutting in edges; a cheap brush sheds bristles and leaves marks.
- A good roller and a sturdy frame, with the right nap thickness for your wall texture.
- An extension pole, which saves your back and gives more even pressure than reaching by hand.
- Painter’s tape, drop cloths, and a proper roller tray or a paint grid in a bucket.
- Sandpaper, filler, and a putty knife for repairs, plus a damp cloth or sponge for cleaning walls.
Spending a little more on the brush, roller, and paint itself pays off more than any other choice; cheap paint needs more coats and still looks thin.
Preparation is the whole job
This is the step everyone wants to skip and the one that decides the outcome. Work through it properly:
- Clear and cover the room, moving furniture out and laying drop cloths over everything that stays.
- Clean the walls, since paint will not bond well to dust, grease, or cooking residue.
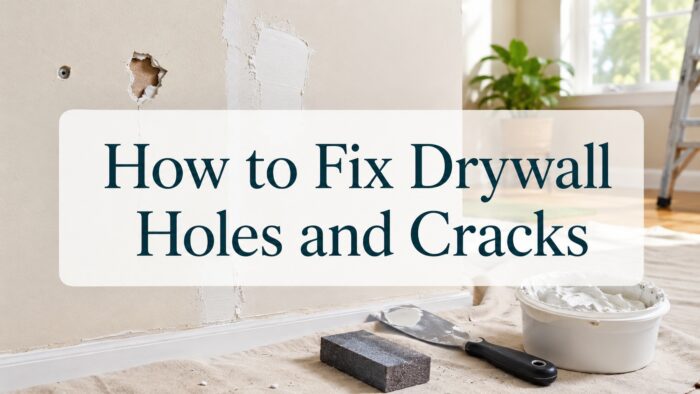
- Fill holes and cracks, then sand them smooth once dry. Larger damage may need the steps In the guide to fixing drywall holes and cracks.
- Sand glossy or previously painted surfaces lightly so the new paint can grip.
- Tape off trim, edges, and anything you do not want painted, pressing the tape down firmly to prevent bleed.
- Prime any patches, stains, or bare surfaces so the topcoat looks even.
Painting technique that looks professional
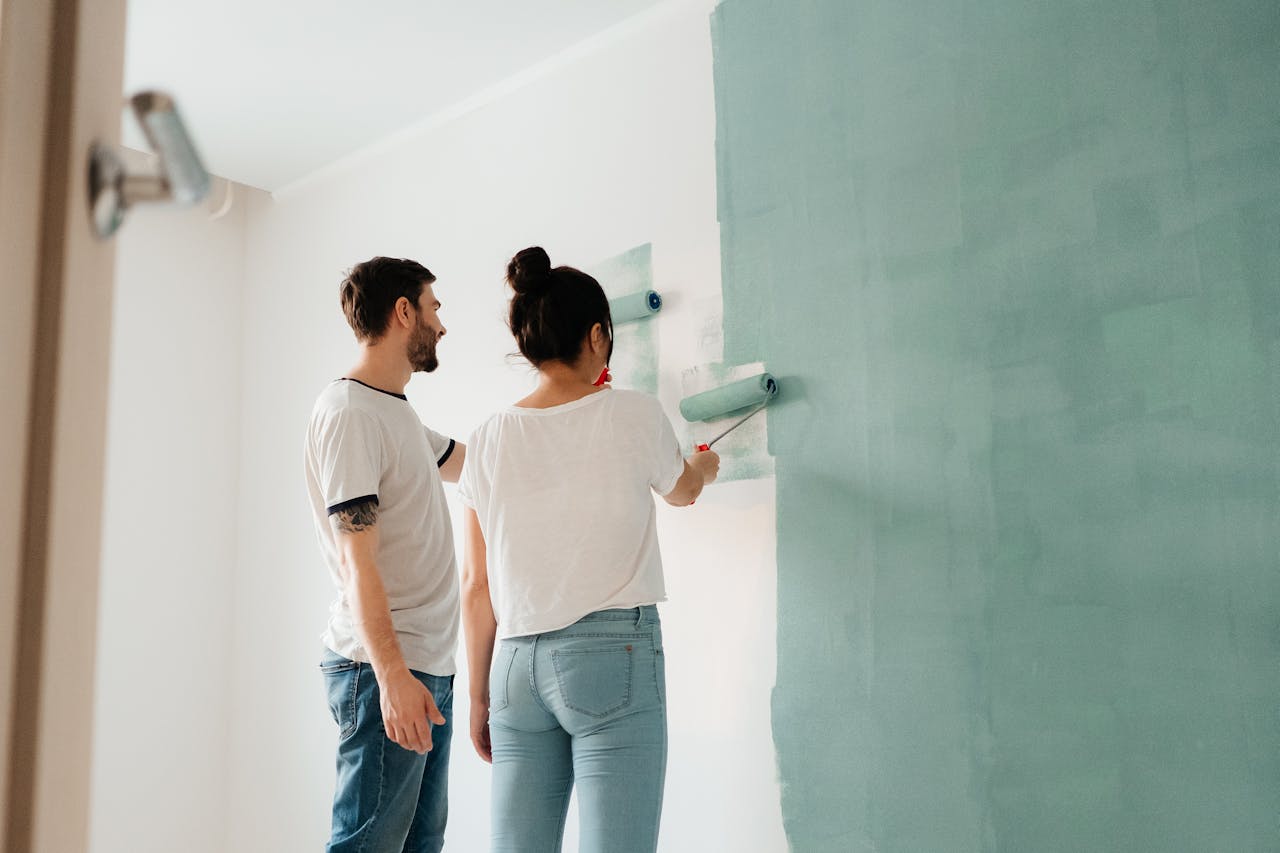
With prep done, the painting is straightforward if you follow a sequence. Cut in the edges with the brush first, then roll the large areas while the cut-in paint is still wet so the two blend without a visible line. Roll in a series of overlapping strokes, working in manageable sections and keeping a wet edge so you never roll over paint that has started to dry. Apply two thin coats rather than one thick one; thin coats dry evenly and hide better than a single heavy layer that drips and streaks. Let the first coat dry fully before the second.
Choosing the right paint and color
Two choices shape the result as much as your technique: the paint finish and the color. Finish first, since it affects both looks and durability.
- Flat and matte hide wall imperfections but are harder to clean; good for low-traffic ceilings and adult bedrooms.
- Eggshell and satin balance a soft sheen with washability, making them the safe default for most living spaces.
- Semi-gloss and gloss resist moisture and scrubbing, ideal for trim, kitchens, and bathrooms.
For color, lean toward shades you will not tire of. The warm, earthy neutrals leading current interior design trends are forgiving choices that suit changing decor, and testing a large painted sample on the wall across a full day beats committing from a tiny swatch under store lighting.
A note on safety and ventilation
Paint fumes build up quickly in a closed room, so keep windows open and air moving while you work and for a while after. Use a step stool or ladder safely rather than overreaching, and if you are sanding old paint in a home built before the late 1970s, be aware it may contain lead and should be handled with appropriate caution. None of this is difficult, but a little ventilation and ladder sense prevents the avoidable problems that turn an easy job into an unpleasant one.
Painting shortcuts that show through
- Skipping prep and painting over dust, grease, or unfilled holes.
- Buying cheap paint, then needing extra coats that cost more time and money than good paint would have.
- Applying one thick coat instead of two thin ones, causing drips and uneven color.
- Letting the cut-in edges dry before rolling, which leaves a visible frame around the wall.
- Pulling tape off after the paint has fully hardened, which can peel the new finish.
Painting questions that come up mid project
How many coats of paint do I need?
Usually two thin coats over a properly prepared and primed surface. Two thin coats cover more evenly and look better than one thick coat, which tends to drip and dry unevenly.
Do I really need to prime?
Prime bare surfaces, patched areas, stains, and big color changes. Over a sound, similar-colored painted wall you can often skip full priming, but spot-prime any repairs so they do not show through.
When should I remove the painter’s tape?
While the final coat is still slightly tacky, or score the edge with a blade first. Pulling tape off fully hardened paint can lift the new finish and ruin a clean line.
How long should I wait between coats of paint?
Follow the time on the paint can, but as a rule most modern wall paints are ready for a second coat in two to four hours. Recoating too soon, while the first coat is still soft, drags and lifts the paint and ruins the finish. Cooler, more humid rooms need longer, so if in doubt give it extra time. The wall should feel dry to a light touch and no longer cool or tacky before you start the next coat.
A clean edge starts before the paint can opens
The difference between an amateur and a professional paint job is almost never skill with a roller; it is patience with the boring parts. Filling, sanding, cleaning, and taping are tedious, and they are exactly what separate crisp, even walls from a streaky mess. If you only take one thing from this guide, give the prep the time it deserves and remove the tape while the second coat is still slightly tacky. The rolling will take care of itself.
Good paintwork is mostly preparation
Wall painting is the cheapest, highest-impact upgrade in the home, and the secret is not technique but preparation. Buy a few good tools and decent paint, spend most of your time cleaning, filling, sanding, and taping, then cut in and roll two thin coats. Respect the prep-to-paint ratio and a beginner can produce walls that look professionally done.