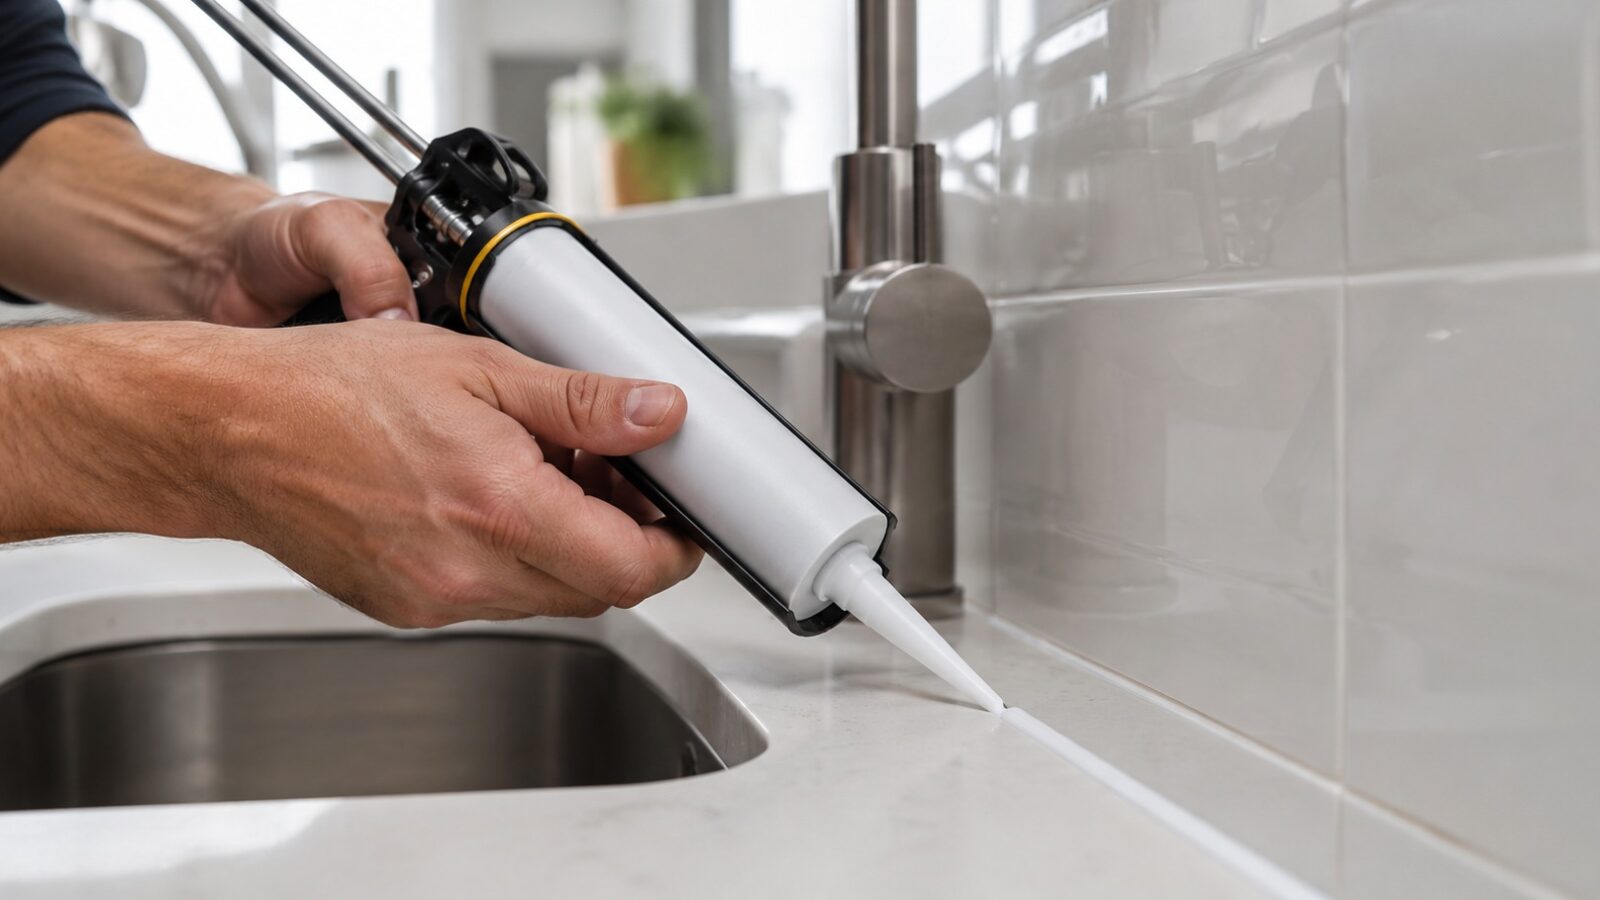
Fresh caulk can make a tired sink, shower or worktop look cleaner, but appearance is only half the job. The seal has to match the joint, remain flexible and keep water from reaching the material behind it. A neat bead applied over damp, loose or mouldy caulk will fail quickly.
First decide whether caulk is the right repair
Caulk is suitable for narrow joints where two stationary surfaces meet, such as a worktop and backsplash, a sink rim or the edge of a bath. It is not a repair for a moving tile, a leaking pipe, rotten timber or a crack that keeps widening.
Before starting, check for soft plasterboard, swollen cabinet panels, loose tiles or staining below the joint. Those signs point to a moisture problem that needs attention before the cosmetic seal is replaced.
Choose the sealant for the location
- Bathroom and kitchen silicone: a common choice around sinks, showers and baths because it remains flexible and resists water.
- Paintable acrylic latex caulk: useful for dry interior gaps around trim, skirting and painted joinery.
- Specialty sealants: may be needed for stone, metal, exterior joints or high temperature areas. Check material compatibility on the label.
Colour matters less than compatibility. Clear caulk can expose an untidy joint underneath, while bright white highlights every wobble. A colour close to the surrounding grout, wall or fixture is often more forgiving.
Remove the old bead completely
Cut along both edges of the existing caulk with a suitable scraper or utility blade, working slowly to avoid scratching a bath, tile or worktop. Pull away the long sections, then remove the thin residue. Silicone left behind can stop the new bead from bonding.
Clean the joint according to the surface manufacturer’s advice and allow it to dry fully. Do not trap cleaner, moisture or soap residue beneath the new seal.
Prepare the joint before opening the tube
Use painter’s tape on both sides if the edges are visible and you are not confident about keeping a straight line. Leave a gap only as wide as the finished bead needs to be. Very wide caulk lines look untidy and can hide a joint that should have been repaired differently.
Cut the nozzle at a small angle. Start with a smaller opening than you think you need; it is easier to enlarge the cut than control a tube releasing too much material.
Apply one steady bead
Hold the nozzle against the joint and move at a consistent speed while applying gentle pressure. Some people find pushing the bead easier, while others prefer pulling. The important part is to avoid stopping every few centimetres.
Tool the bead within the working time stated on the product. A caulk finishing tool provides a predictable profile. A lightly dampened finger may work for some water based products, but follow the manufacturer’s directions for silicone and solvent based sealants.
Remove tape before a skin forms
Pull the tape away slowly at an angle while the caulk is still workable. Waiting until the surface has cured can tear the edge. If a small gap appears, repair it immediately with a tiny amount of sealant rather than smearing the whole bead.
Give it the full curing time
“Touch dry” does not always mean ready for water. Keep the shower, sink or bath dry for the period on the label. Humidity, temperature and bead thickness can affect curing.
A clean result comes from preparation and restraint. Most messy caulk jobs use too much product and too little time removing the old seal.
When the joint opens again
If the new bead separates within weeks, look for movement. Baths may flex when filled, worktops can shift, and poorly fixed splashbacks can move away from the wall. Persistent gaps need the underlying fixture secured rather than another layer of caulk.
Cracks in nearby plaster or plasterboard may need a different repair. The drywall repair guide explains when filler is appropriate and when movement needs investigation.
A simple finish check
- The joint is dry and free of old silicone.
- The product is compatible with both surfaces.
- The bead touches each side without spreading far beyond the joint.
- There are no pinholes, breaks or trapped debris.
- The area stays dry until the stated cure time has passed.
Caulking is a small job, but rushing the first half guarantees more work later. Take time over removal and cleaning; the application itself should be the shortest part.